2
・3 min read
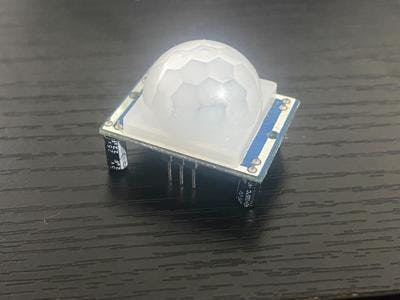
esp32で人感センサーを動かしてみた
はじめに
esp32で家に転がっていた人感センサーを動かしてみた。
環境
- PC
- windows 10
- esp32
- USBケーブル
- 家に転がってたものを
- ジャンパーワイヤー オス・メス
- HC-SR501
- 開発環境
- Arduino IDE

HC-SR501の仕様
 ※データシートより
ピン接続
esp32とはGND/Output/Powerの3つのピンをジャンパーワイヤー オス・メスで接続する。
Jumper Set
Jumper Setに関しては、下記のように記載されている。
Triggered in two ways: (jumper selectable)
◦ non-repeatable trigger: the sensor output high, the delay time is over, the output is automatically changed from high level to low level;
◦ repeatable trigger: the sensor output high, the delay period, if there is human activity in its sensing range, the output will always remain high until the people left after the delay will be high level goes low (sensor module detects a time delay period will be automatically extended every human activity, and the starting point for the delay time to the last event of the time).
delay time を過ぎたときの挙動が切り替えられる。
Jumper SetをL(Single Trigger) にすると、delay time 後に自動でOutputがLowになる。
一方、Jumper SetをH(Repeat Trigger)にすると、delay time 後に 人感センサーが反応していた場合はOutputがHignのまま維持される。
Jumper SetをL(Single Trigger) にすると、delay time 後に自動でOutputがLowになる。
一方、Jumper SetをH(Repeat Trigger)にすると、delay time 後に 人感センサーが反応していた場合はOutputがHignのまま維持される。
Sensitivity Adjust
Adjust the distance potentiometer clockwise rotation, increased sensing distance (about 7 meters), on the contrary, the sensing distance decreases (about 3 meters)
時計回りに回すと検出距離が増加し、反時計回りで減少させる。
約3m ~ 7mを調整可能。
約3m ~ 7mを調整可能。
Time Delay Adjust
Adjust the delay potentiometer clockwise rotation sensor the delay lengthened (300S), on the contrary, shorten the induction delay (5S).
こちらも時計回りで、delay timeを増加、反時計回りで減少させる。
1S がどういう値がよくわからなかったが、データシート上でDelay Timeについて下記のように記載されていた。約0.3秒~5分で調整できる模様。
1S がどういう値がよくわからなかったが、データシート上でDelay Timeについて下記のように記載されていた。約0.3秒~5分で調整できる模様。
5-300S( adjustable) Range (approximately .3Sec -5Min)
サンプル
配線
HC-SR501のOutputをesp32のGPIO17につなぎ
LEDとesp32のGPIO17をつなぐ。
LEDとesp32のGPIO17をつなぐ。
サンプルコード
const int PIR_PIN = 21;
const int LED_PIN = 17;

void setup() {
  // put your setup code here, to run once:
  pinMode(PIR_PIN, INPUT);
  pinMode(LED_PIN, OUTPUT);
}

void loop() {
  // put your main code here, to run repeatedly:
  digitalWrite(LED_PIN, digitalRead(PIR_PIN));
}